Setting up a professional camera can seem daunting — but when it comes to the RC841U 4K PTZ Camera, it doesn’t have to be. Whether you’re using it for live streaming, corporate webinars, online classes, or high-end video conferencing, getting the best video quality depends on proper setup, optimal angles, lighting, and a smooth network connection.
In this comprehensive guide, we’ll walk you through how to set up the RC841U 4K PTZ Camera like a pro — from physical installation to final fine-tuning — all with insights from ROCWARE and supported by Digital Live Services.
Table of Contents
Unboxing and First Impressions
Upon opening the RC841U 4K PTZ Camera, you’ll find:
- The camera unit with PTZ motor functionality
- Remote control
- Power adapter
- Mounting hardware
- USB/HDMI/Ethernet cables (depending on the model)
- Quick start guide
The solid build and modern design immediately reflect the quality ROCWARE is known for.
Step 1: Mounting the RC841U 4K PTZ Camera
Choose the right location:
- Eye level or slightly above the speaker’s head is ideal.
- Use the included mounting bracket for wall or ceiling installations.
- Ensure the camera has a clear line of sight with no obstructions.
Tip: Mount the camera at a distance of 6–15 feet from your subject for the best framing flexibility.
Also Read: Wall Mount Bracket: Enhance Your Space with Digital Live Services
Step 2: Connecting the Camera
The RC841U offers various connectivity options:
- HDMI: Great for direct connection to monitors or video switchers.
- USB: Plug-and-play functionality for Zoom, Teams, OBS, etc.
- LAN (Ethernet): Enables network control and PoE (Power over Ethernet).
Steps:
- Plug in the power adapter or connect via PoE if supported.
- Choose your output (USB for streaming, HDMI for broadcast).
- Connect the camera to your device or network.
Step 3: Accessing the Camera’s Web Interface
The RC841U comes with a built-in web UI for advanced configuration.
How to access:
- Connect the camera via Ethernet.
- Use the IP address found in your router or via included software.
- Open a browser and type the IP address.
- Login (default credentials are in the user manual).
Here you can adjust image settings, streaming options, and network configurations.
Step 4: Adjusting PTZ Settings
PTZ (Pan-Tilt-Zoom) lets you cover more space with a single camera.
Use the remote control or web UI to:
- Pan: Move left and right.
- Tilt: Move up and down.
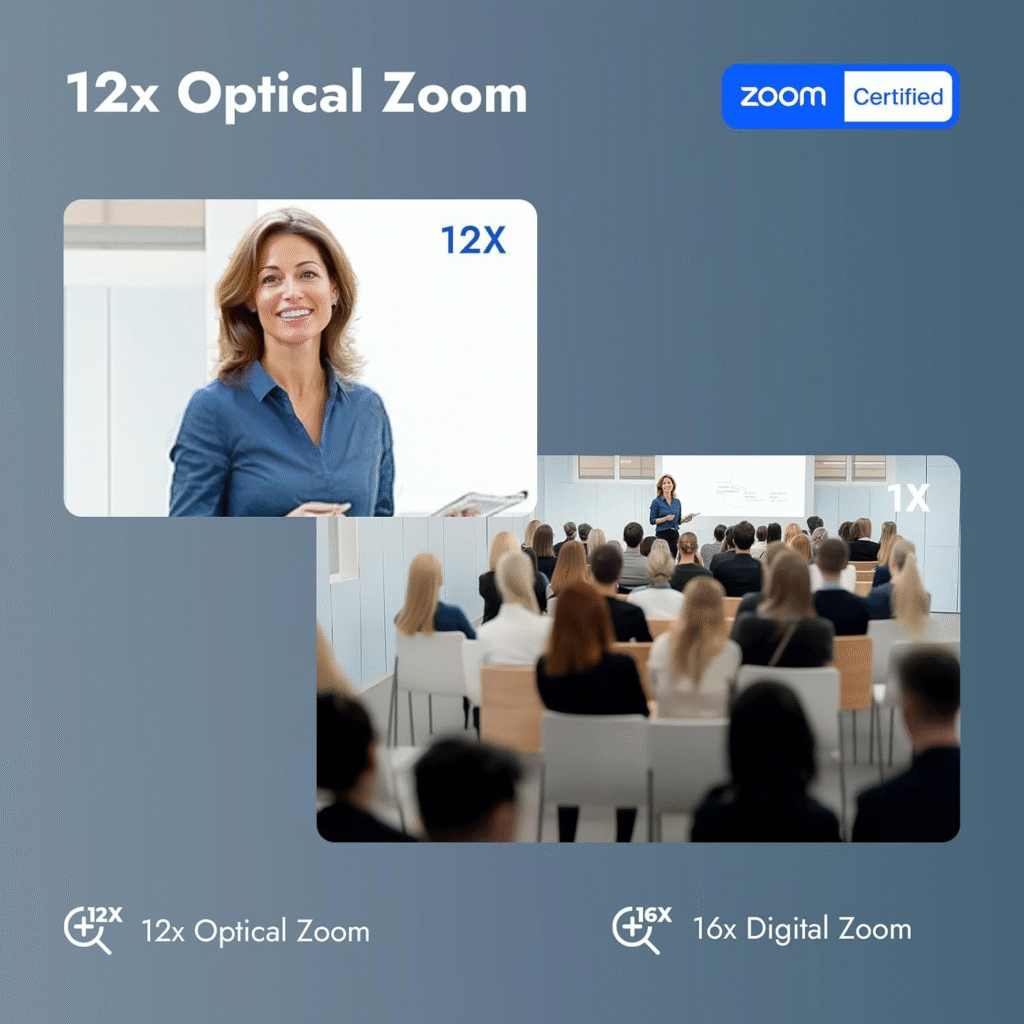
- Zoom: Adjust the level of zoom smoothly.
Preset Positions:
You can save up to 10 presets for different camera angles — ideal for switching quickly during live events.
Also Read: Top-Class Interactive Display by Digital Live Services
Step 5: Optimizing Camera Image Settings
For the best 4K video quality:
- Resolution: Set to 3840×2160 (4K) at 30fps or 60fps, depending on your platform.
- White Balance: Use “Auto” for general settings or “Manual” for controlled environments.
- Brightness/Contrast/Saturation: Adjust based on lighting.
- Exposure Mode: “Auto” is safe, but manual gives more control in studio environments.
Pro Tip: Always test your setup in the exact lighting conditions you’ll be using during live sessions.
Step 6: Lighting Tips for Crisp Video
Even with a 4K sensor, poor lighting ruins everything.
Best practices:
- Use three-point lighting: Key light, fill light, and back light.
- Avoid direct sunlight or overhead fluorescent lights.
- Softbox lights or LED panels offer even, soft lighting without shadows.
- Keep background lighting consistent to avoid flickering or exposure jumps.
Step 7: Choosing the Right Camera Angle
For professional framing:
- Ensure your subject’s eyes are one-third down the screen.
- Leave headroom and avoid extreme close-ups.
- Use the zoom to frame without distorting proportions.
- Keep the background uncluttered and neutral if possible.
Use presets to instantly shift angles between multiple speakers or viewpoints.
Also Read: Why Every Institution Need Smart Studio Setup for Online Learning & Content Creation
Step 8: Audio Sync and Integration
Though the RC841U is a video-only device, syncing audio is essential.
Pair it with:
- A professional USB/XLR mic setup
- Audio mixer or interface for multi-source setups
- OBS or video software to sync audio-video feeds accurately
Tip: Always test audio delay and adjust sync in your software settings.
Step 9: Network Configuration for Streaming
Streaming with the RC841U via IP or NDI? Here’s what you need:
- Stable Ethernet Connection: Avoid Wi-Fi for professional streams.
- Port Forwarding: For remote access or streaming to cloud servers.
- Bandwidth: Minimum 15–25 Mbps upload for stable 4K streaming.
- Use VLAN or QoS settings to prioritize video traffic.
Step 10: Software and Platform Integration
The RC841U is compatible with:
- OBS Studio (for overlays and live streaming)
- Zoom, Microsoft Teams, and Skype
- vMix, Wirecast, and Streamlabs
- YouTube Live, Facebook Live, and Twitch
Installation Tips:
- Install the ROCWARE PTZ camera driver (if required)
- Add the video source in OBS or your preferred software
- Use PTZ plug-ins for camera control within the software
Advanced Features to Explore
- Auto Tracking: Ideal for presenters who move while speaking.
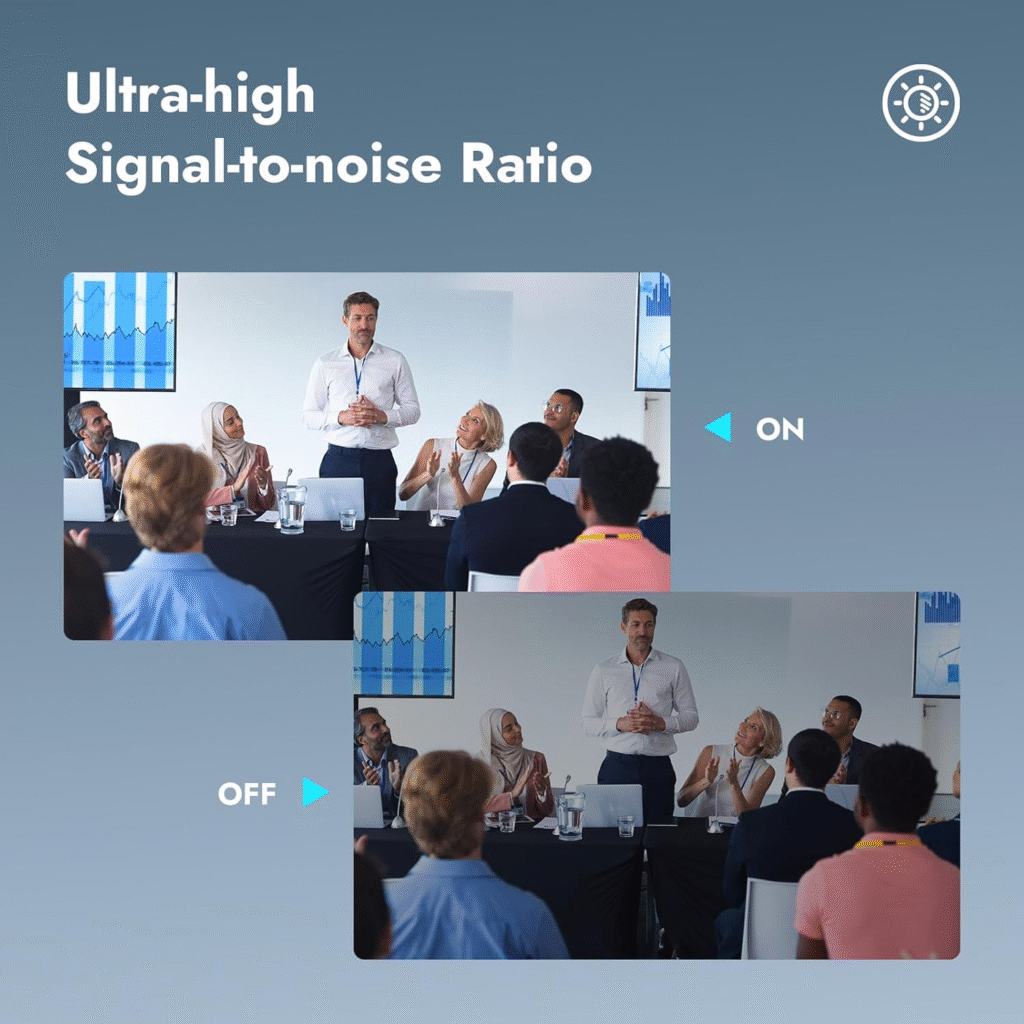
- Low-Light Mode: Enhances performance in darker environments.
- NDI® Compatibility: For high-quality network video without additional capture cards.
Maintenance & Firmware Updates
Regularly update firmware via the ROCWARE support portal to:
- Fix bugs
- Improve performance
- Add new features
Clean the lens with a microfiber cloth and avoid touching it with bare fingers.
Common Troubleshooting Tips
| Issue | Solution |
|---|---|
| No video feed | Check cable connections and camera power |
| Poor video quality | Adjust exposure, focus, and lighting |
| Audio not syncing | Use software to delay or align audio source |
| Network camera not detected | Confirm IP settings and disable firewalls if necessary |
FAQs
Can I use the RC841U without an internet connection?
Yes, for local streaming via HDMI or USB, internet is not required.
Is it compatible with Mac systems?
Absolutely — it works with macOS via USB or IP streaming in OBS, Zoom, and more.
Does the RC841U support 60fps at 4K?
Some models do. Check the specs; 30fps is more common and widely supported.
Can I control the PTZ functions remotely?
Yes, via the web UI, RS232/485, or PTZ controller software.
What makes ROCWARE better than others?
Build quality, AI features, and excellent support from Digital Live Services set ROCWARE apart.
Does the camera support simultaneous outputs?
Yes — HDMI, USB, and IP can often run concurrently, perfect for hybrid events.
Conclusion
The RC841U 4K PTZ Camera from ROCWARE is a powerhouse of clarity, flexibility, and professional-grade features. When set up correctly, it transforms any space into a high-quality video production studio.
Whether you’re a content creator, corporate trainer, teacher, or live streamer, following this setup guide will ensure you get the best out of your investment. With support from Digital Live Services, you’re not just buying a camera — you’re upgrading your entire video experience.